26 Aug How to Carve a Pumpkin Using Cookie Cutters
If you’re looking for a simple pumpkin-carving method, look no further. Here’s the secret: Cookie cutters. That’s right, cookie cutters can be used for so much more than cookies – and they make pumpkin carving a quick and painless process.
This method works especially well if you have young children who aren’t quite ready for a complicated pattern. Gather your supplies, get your family around the table, and get to work!
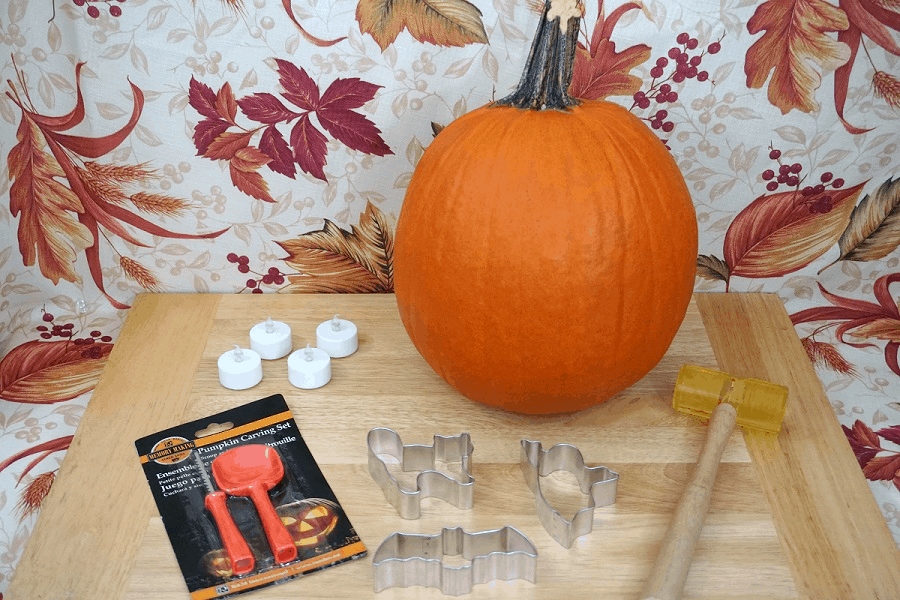
Materials:
– Pumpkin
– Paring knife (or the serrated saw from a pumpkin carving kit)
– Spoon (or the scoop from a pumpkin carving kit)
– Halloween Cookie cutters
– Rubber mallet
– Needle-nose pliers
– Tea light (battery operated or standard)
Directions:
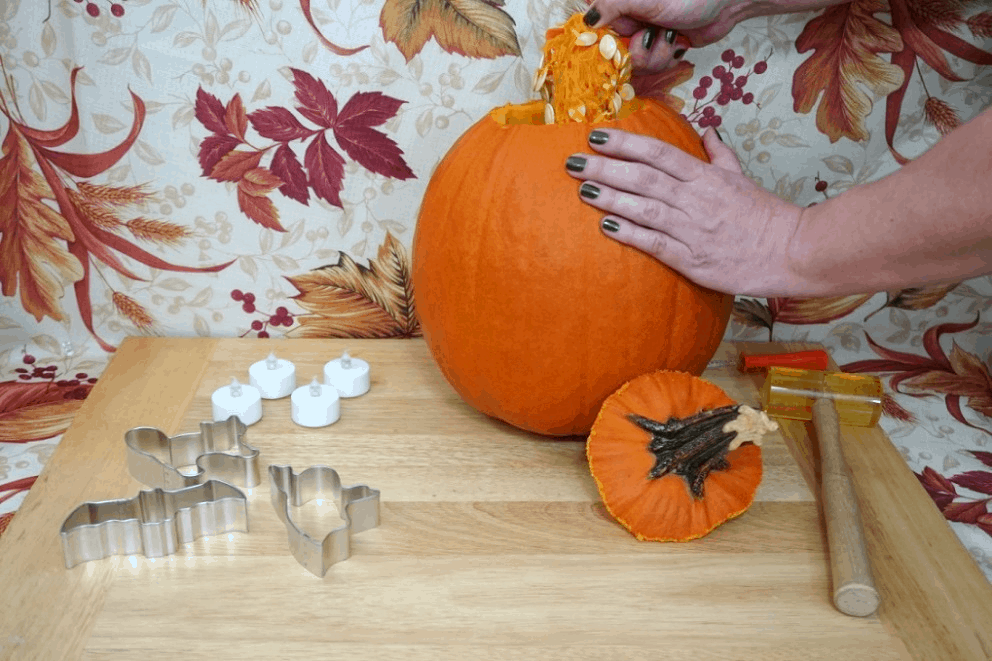
1. You’re probably familiar with this step. Use your paring knife (or saw) to cut out a circle around the stem of your pumpkin. Then, lift off the lid you created.
2. Use your spoon (or scoop) to remove the seeds, scraping the inside of the pumpkin to get all the loose “threads” and, well, gunk, that needs to come out of there. (Now’s your chance to separate the seeds and roast them, if you’re interested in a tasty snack).
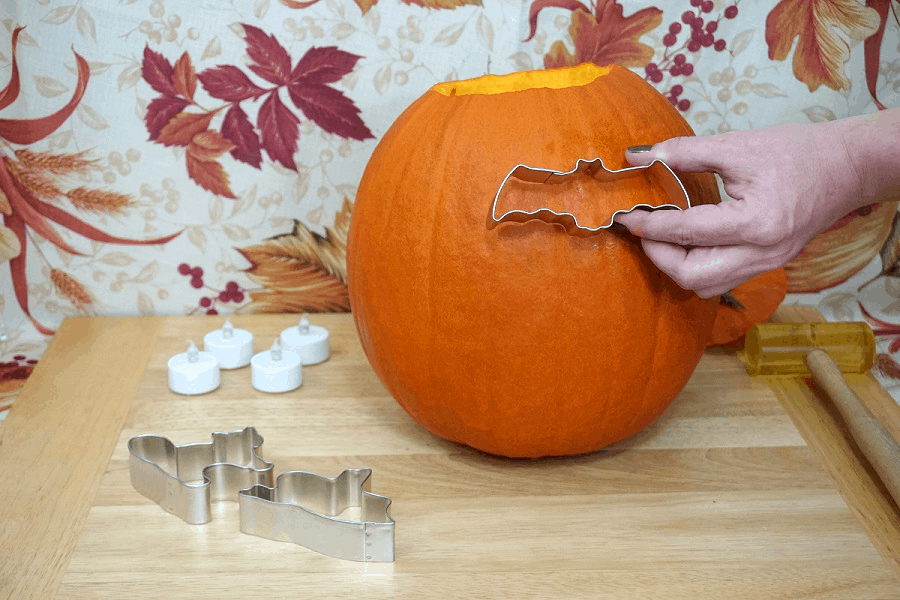
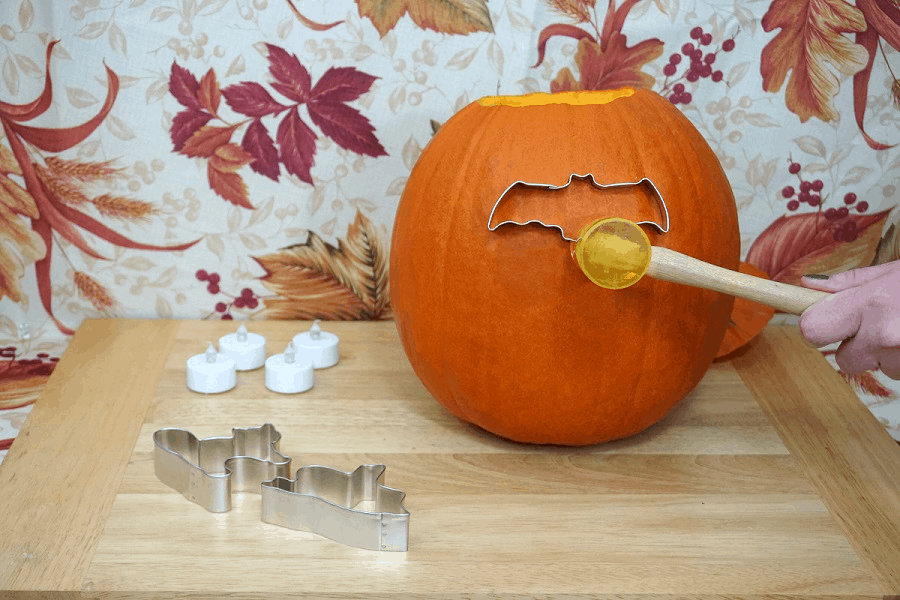
 3. Pick the cookie cutter (or cutters) that you want to use to decorate your pumpkin. Some of our favorites include a bat, a ghost, a cat, a witch’s hat, an owl, and a moon. Select the location on your pumpkin where you want the shape to appear. Then place the cutter against the pumpkin and use the mallet to firmly tap it into the pumpkin. Once it’s all the way in, you can remove it – you may need the pliers for this step. The pumpkin shape should easily pop out, and you can discard it.
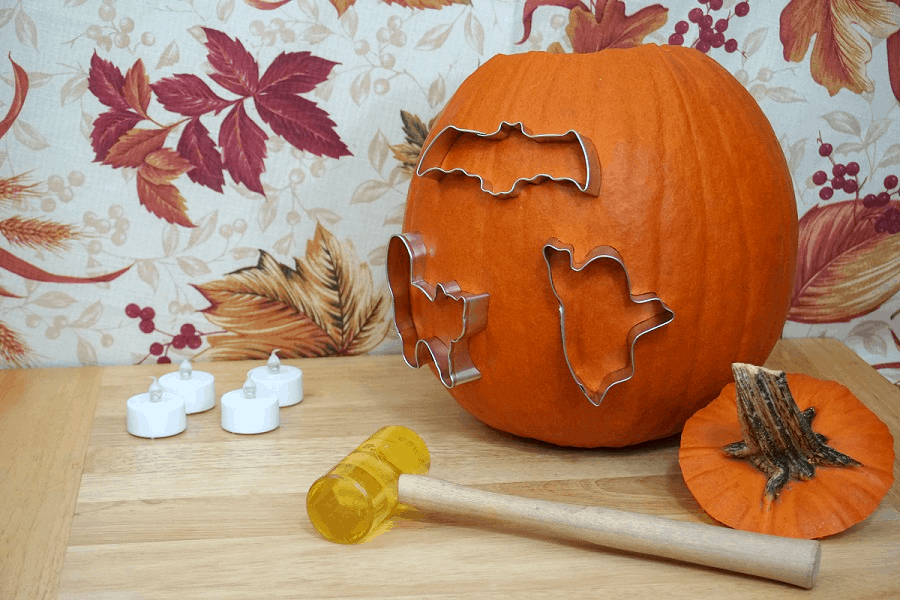
 4. You can leave your pumpkin as it is, or you can use the same shape all around. You can also try a combination of shapes for a fun effect!
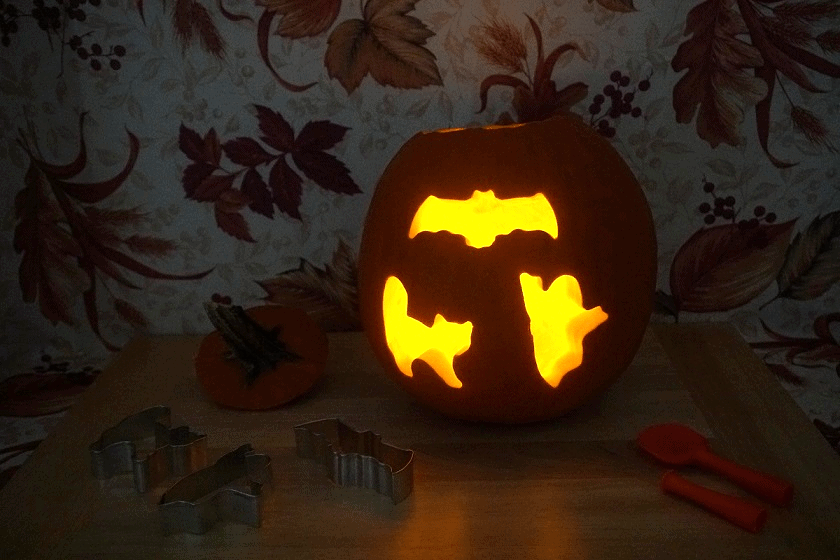
5. Once you’re happy with the way it looks, you’re finished! Place a tea light in the base of the pumpkin, pop the lid back on, and when it gets dark out, light it up and view your handiwork.
Don’t forget some snacks for the carving crew! Put those cookie cutters to good use and bake some Halloween cookies to enjoy while you’re working on your creations. We can’t wait to see what you come up with! Share your pumpkin photos on social media using #randminternational. Happy Halloween!