25 Aug 8 Beginner Tips for Decorating with Fondant
Once you’ve mastered the art of baking fantastic desserts, you’re probably ready for the next challenge: Decorating them. This can seem overwhelming – there is so much to know! – but with a few basic tips anyone can get started. From there, it’s just practice, practice, practice! The first step to decorating is picking which type of icing you want to work with. Today, our focus is on the ever-popular fondant.
Anyone has the ability to become a pro at decorating, and the best place to start is with fondant.
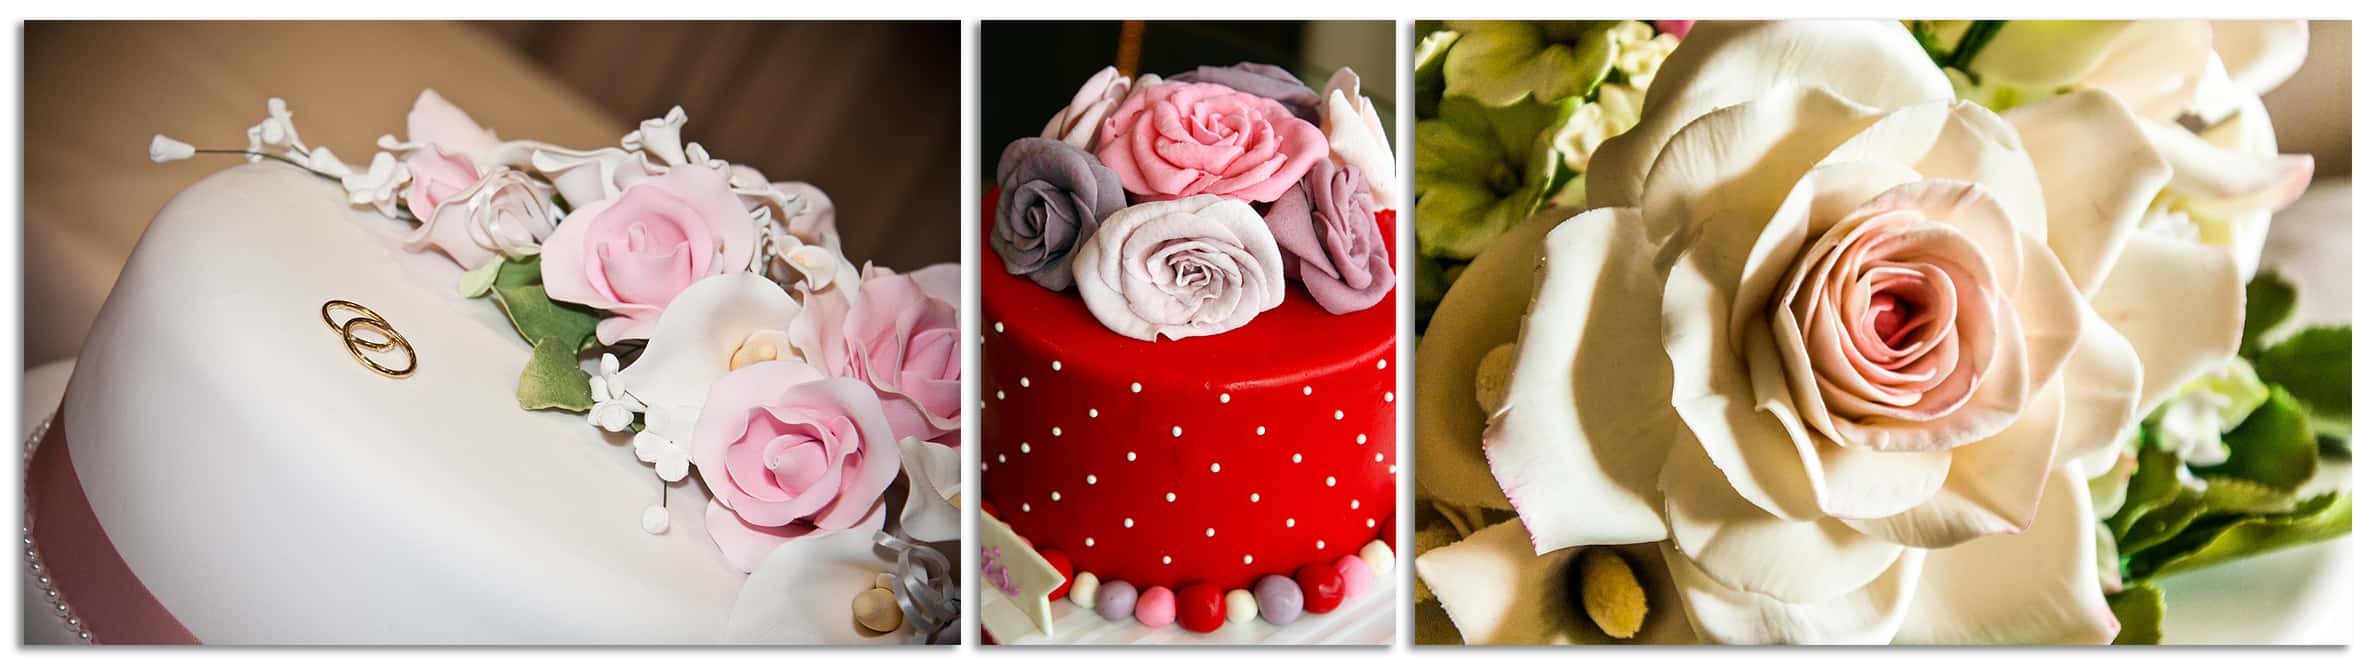
The good news is that you’re probably already familiar with fondant, given its popularity for wedding cakes. Although many wedding cakes are elaborate, fondant can be used for simple designs as well, for both cakes and cookies!
The benefit to decorating with fondant is its versatility. It can be tinted, flavored, formed into shapes, twisted, and imprinted with stampers or other items.
With a little imagination, fondant can become almost anything you want!
The tips below will set you up for success.
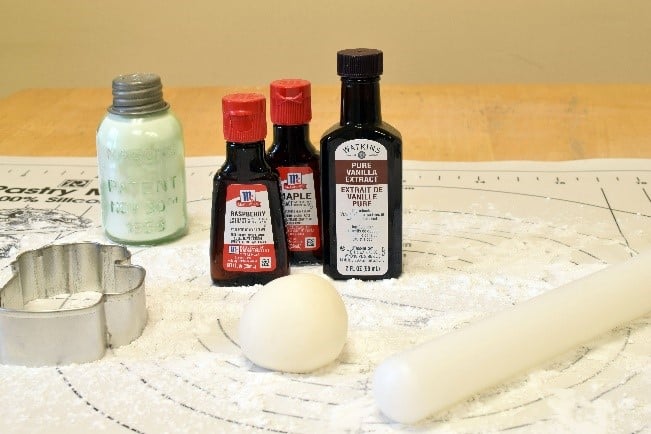
Some supplies you may need include: cookie cutters, fondant decorating tools, food coloring, fondant smoother, powdered sugar, shortening, fondant embosser & cutter and a silicone rolling pin.
Beginner Tips for Decorating with Fondant
1. Adjust the Taste. A lot of people don’t care for the taste of fondant, but it is possible to dress up the flavor! You can make your own fondant, which is just a mixture of marshmallows, powdered sugar, and shortening, and then add in the flavoring of your choice. A number of flavorings are available, both artificial and natural, which can be easily kneaded into your fondant.
I’d recommend adding a drop at a time. Flavorings are easy to mix in, but not as easy to take out. If you do add too much of your flavoring, just add more plain fondant to the mixture to balance out the taste.
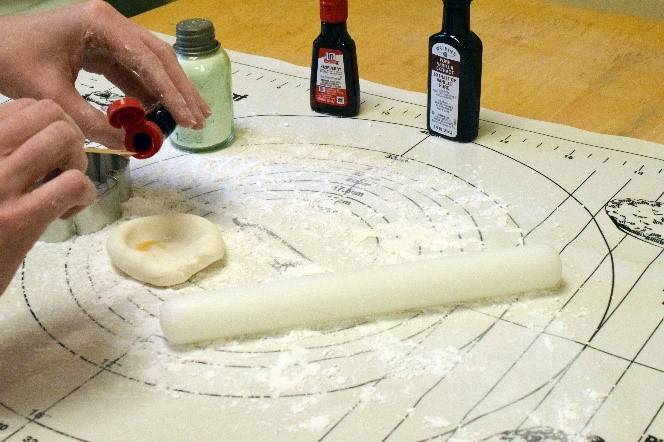
2. Roll it Out. Fondant is easiest to use in a cool, dry room. If your room is too hot, it will make the fondant too soft to work with.
Use a fondant roller to roll it out on a clean, dry surface – a silicone pastry mat works great! Whatever your surface, dust it with powdered sugar to prevent sticking.
Fondant should be rolled out to 1/8” thick. When fondant is too thick, it cracks more easily.

3. Cool Completely. Make sure your cake or cookies have cooled completely before applying your fondant – preferably a few hours. Don’t rush the process or you’ll have a mess on your hands.
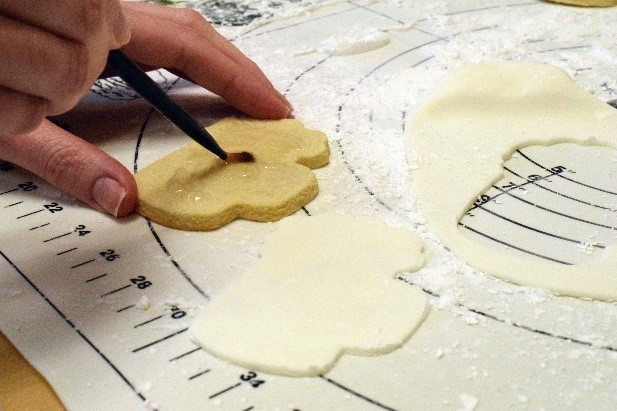
4. Getting Fondant to Stick. Fondant won’t stick without a little help. For cookies, attach fondant by brushing on a small amount of light corn syrup. For cakes, spread a thin layer of buttercream over the entire thing before laying your fondant down.
5. Decorating Made Easy. You can decorate with fondant well in advance of an event – 2-3 days is best; try not to push it much farther than that.
If you’re decorating cookies, sugar cookies are the easiest for beginners. Use whatever cookie cutter you used on your cookies to cut out your fondant. That cut-out will go right on top of your cookie! Cookies tend to spread a bit in the oven, so you won’t need to worry about the size of the fondant overlay.
For cakes, you’ll want to roll your fondant out and then lay it over your cake in one piece. Once it’s down, use a knife to trim the excess – do this quickly, as the extra weight can lead to cracks.
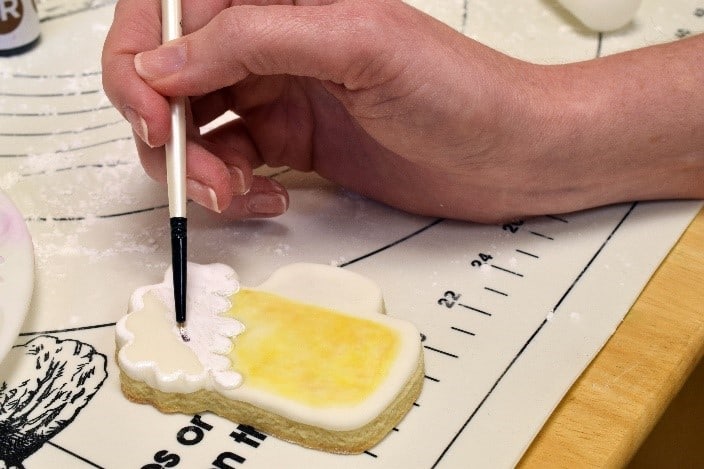
6. Step it Up. While you can always decorate using simple colored fondant or by painting the fondant, you should also think about adding indented features or patterns.
Want to go a step further? Try making extra decorations out of fondant, like flowers, bows, or initials. You can make these months ahead of time, as long as you store them in a cool, dry place. Just add them to your baked goods when you’re ready to use them!
Lay them flat on greased wax paper or over forms to dry for 24 to 36 hours before using or storing them.
7. Fix Those Cracks. Fondant dries very, very quickly. If your fondant has gotten hard, knead it gently with your hands/fingers (put a little bit of shortening on them) – the warmth will make it smooth again. Do not use water, which will dissolve the fondant.
8. Store Fondant in an Airtight Container. Storing fondant is simple. The best thing to do is to place it inside of a resealable plastic bag, making sure to remove all air from the bag. Then place the bag inside of an airtight container at room temperature. This will keep your fondant soft/fresh for up to two months.
Looking for a great fondant recipe? Try this one from Food Network. Good luck as you venture into the world of decorating. Remember, it’s all about practice!
The tips above come from Linda Schwartz. You may be familiar with her work from her blog, Frog Prince Cake & Cookie Design. Linda has years of experience in decorating, but don’t be intimidated – you can do this!
Photo Credits:
Image by PublicDomainPictures from Pixabay
Image by Oliver Lechner from Pixabay